High-quality photos are essential for attracting guests to your short-term rental property. With the SnapSnapSnap photo app, rental managers and hosts can effortlessly capture professional-grade images using just an iPhone. This guide will walk you through how to use SnapSnapSnap to create eye-catching visuals that highlight your property’s best features.
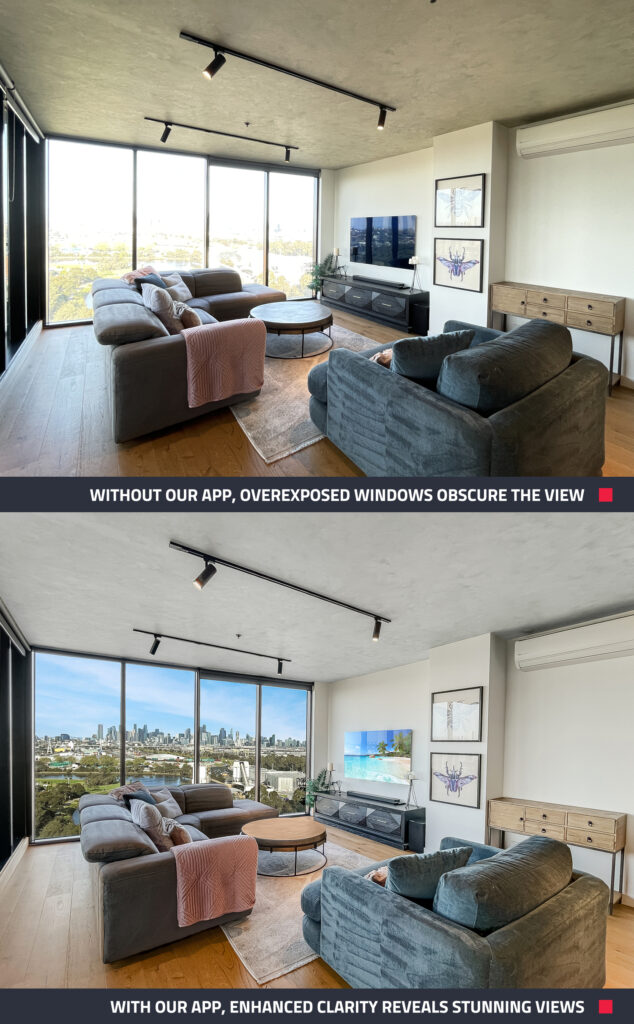
Before you get started, it’s essential to prepare your property for the shoot. If you haven’t done that yet, don’t worry! We have tips to help you get your short-term rental camera-ready. SnapSnapSnap is specifically designed for property photography, utilizing HDR bracketing to automatically capture multiple exposure levels in each shot. This ensures you achieve well-lit, balanced photos with crisp lighting that beautifully showcases both the interior and exterior, all without the hassle of manual adjustments.

Find out how to achieve professional-quality results with your iPhone now!
Step 1: Setting Up SnapSnapSnap for Your Shoot
- Download the SnapSnapSnap App: If you haven’t already, download the app from the App Store and sign in to your BoxBrownie.com account. New users can easily sign up within the app. For best results, use an iPhone 11 or later—its wide-angle lens is essential for capturing high-quality real estate photos.
- Top Up Your Account: Save time during the shoot by adding credit to your BoxBrownie.com account beforehand.
- Start a New Shoot: Tap the red plus button, name your shoot (using the property’s address), and click “Add New Shoot” to begin.
Step 2: Shooting Professional Rental Photos with SnapSnapSnap
With SnapSnapSnap, you can turn your iPhone into a powerful tool for capturing professional-quality photos. Follow these tips for best results:
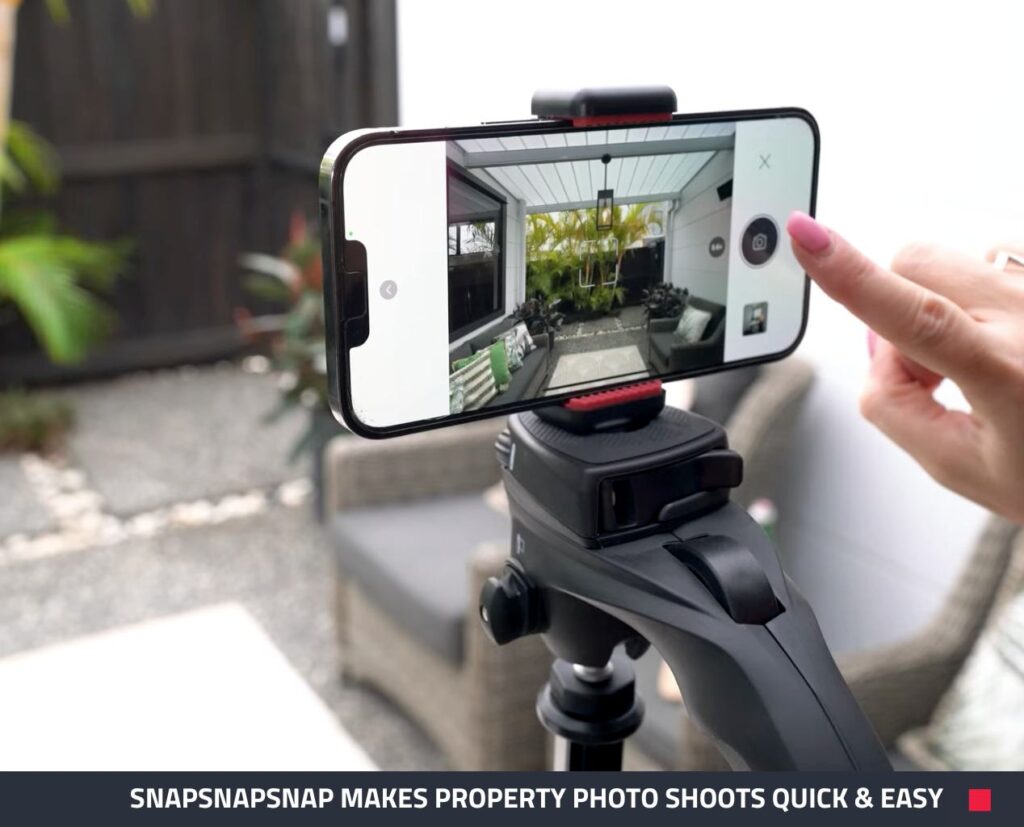
1. Stabilize Your Phone: Stability is key to capturing high-quality images. If you’re shooting without a tripod, tuck your elbows into your torso for added steadiness. This will help reduce blurriness and ensure a clear shot. For sharper images you can use a tripod.
Pro Tip: If using handheld mode, ensure the app is set to Balance Capture Mode. This mode has a capture time of around 5 seconds, so it’s important not to disturb the phone while it takes the photo.

2. Shoot at Shoulder Level: Always shoot at shoulder level to create a natural perspective that feels inviting. This height allows potential guests to visualize themselves in the space more easily and helps avoid distortion often seen when shooting from above or below. Aim to have the camera at about the height of a person’s shoulders, typically around 4 feet.
3. Hold Your Phone Horizontally: Horizontal shots capture more of the room, providing a wider view that showcases the space better than vertical shots.
4. Take Multiple Shots: Don’t be afraid to take several shots from different angles to give you options when selecting and editing the final photos.
5. Capture Key Areas: As you move through the property, capture each room methodically to ensure you don’t miss any important features. Be sure to photograph the main living areas, kitchen, bedrooms, bathrooms, and outdoor spaces. Aim to shoot each area from various angles to see what showcases the space best.
6. Stand in the Right Spot and Capture Wide Angles: For the best views, stand in corners of rooms or doorways to capture the full depth and width of the space. This technique will help create a sense of flow and openness in your images. In smaller rooms, shooting from the entrance can make the space appear larger.
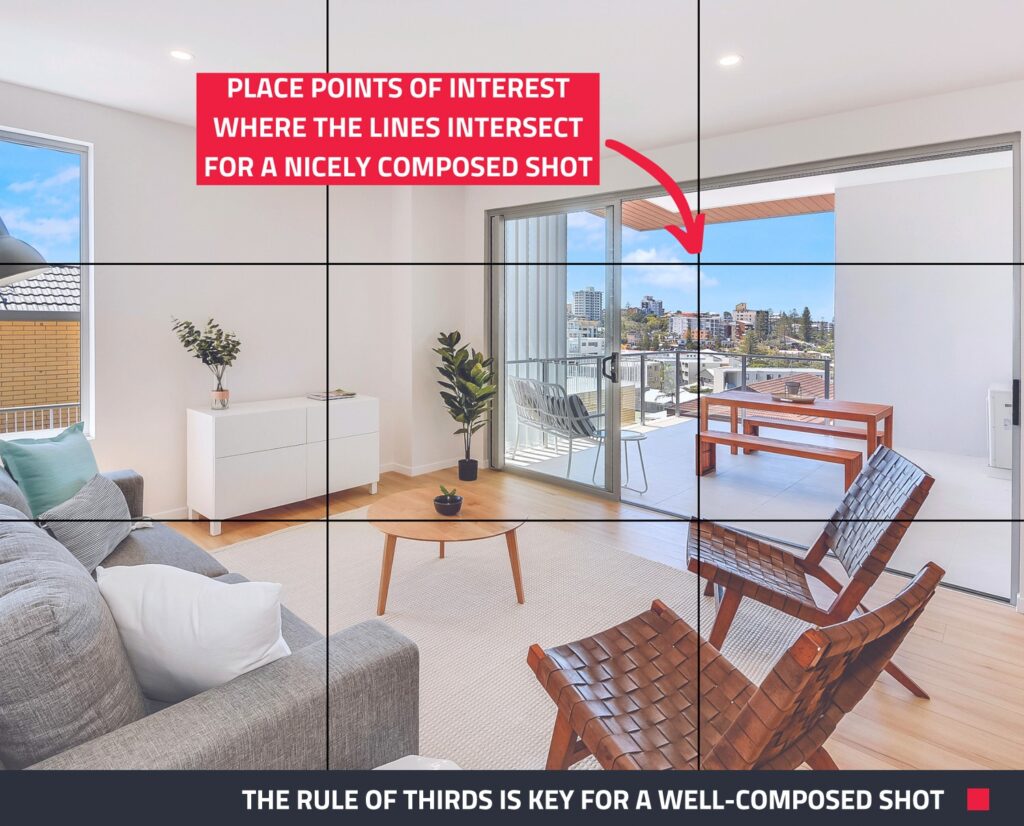
7. Mind Your Composition: Keep your frame clean and clutter-free by removing distractions and focusing on the property’s best features. Poorly composed photos can appear unbalanced and unpolished.
To enhance your composition, use the Rule of Thirds: imagine your shot divided into a grid of nine equal parts. Position key elements at the intersections of the grid lines to create a compelling and well-balanced image, as the eye is naturally drawn to these areas.

8. Shoot at the Right Time of Day: Natural light is best for photography. Aim to shoot during the golden hour (early morning or late afternoon) for soft, flattering light. Overcast days are also ideal as they provide even, diffused lighting that reduces harsh shadows and highlights.
9. Maximize Your Exterior Shots: Generally, you’ll need to hold your phone higher, around 5 feet, for external shots. For exterior photos, position yourself with the sun behind you to ensure even lighting. If you must shoot directly into the sun, use your hand to shield the lens and prevent glare. Don’t worry about your hand being visible; we digitally remove it as part of our Image Enhancement and Day to Dusk editing.


